
{
Linux at home
|
Installation
|
Linux in liberated disc space
|
Shrink Windows
}


Shrink Windows to install Linux
The proposal here is to shrink the C:\ drive and then to use the liberated, unpartitioned space to install Linux in.

Disc organisation after shrinking the C:\ drive.
- From Explorer go to "This PC". (screenshot)
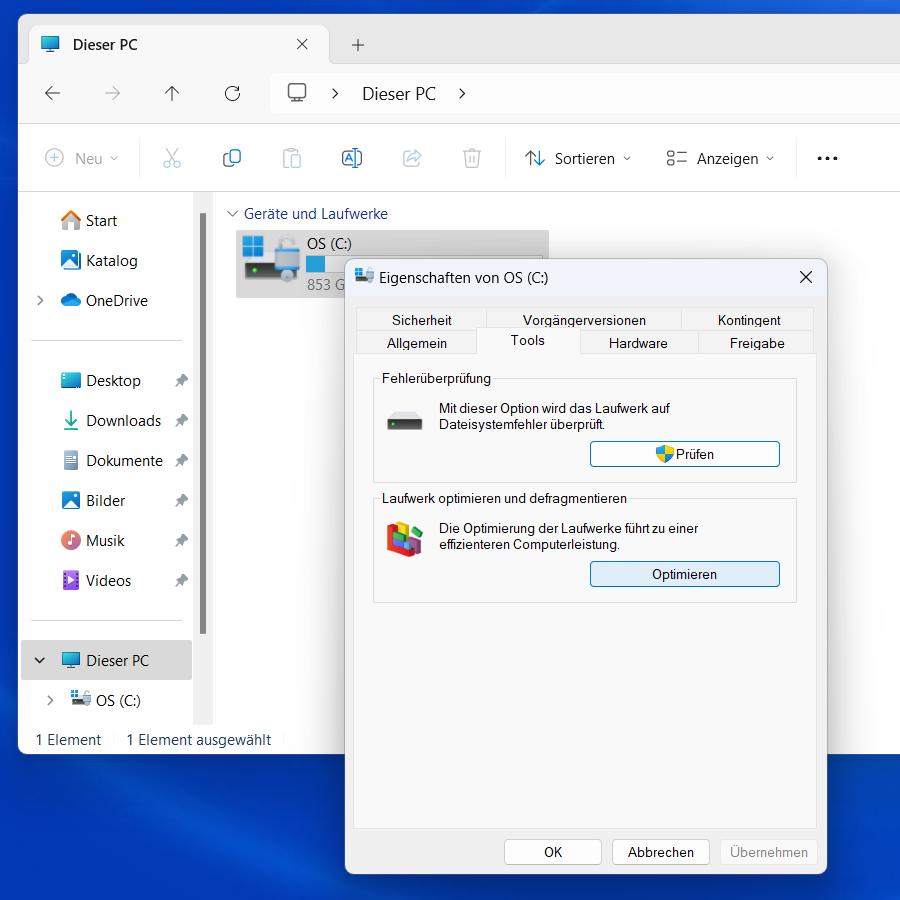
- Right-click the system drive C:\ and select "Properties". (screenshot)
- Go to the "Tools" tab and click on "Optimise". (screenshot)
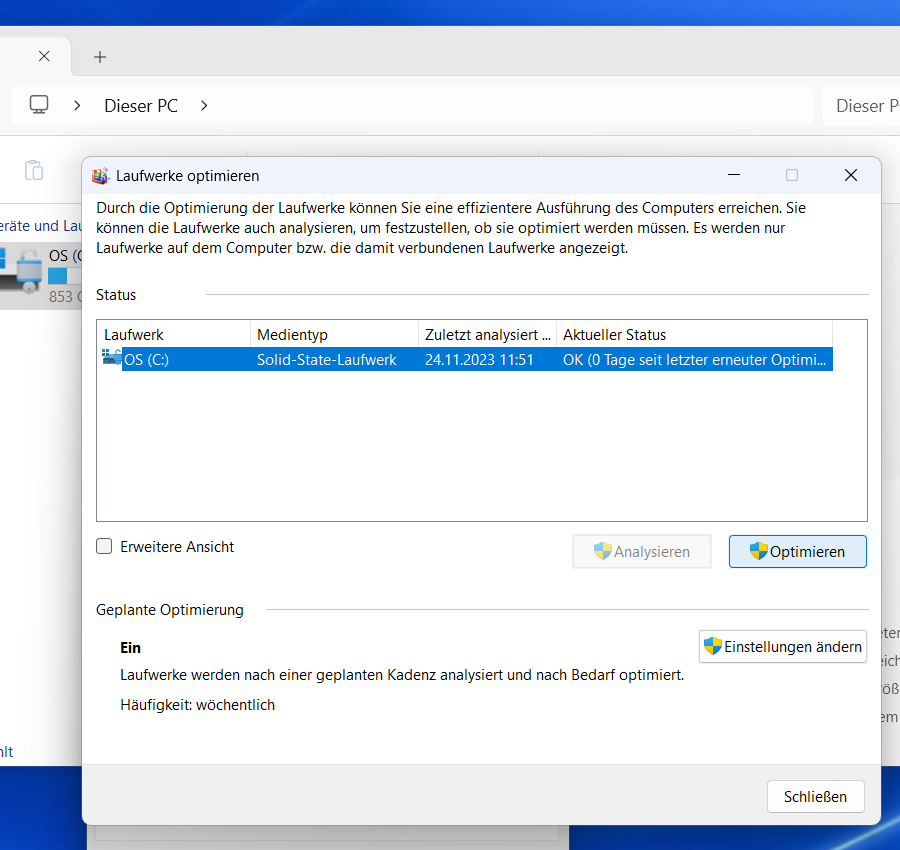
- In the new dialogue, select the C:\ drive and click "Optimise". (There is probably not much to do, as this activity is done automatically at certain times.) (screenshot)
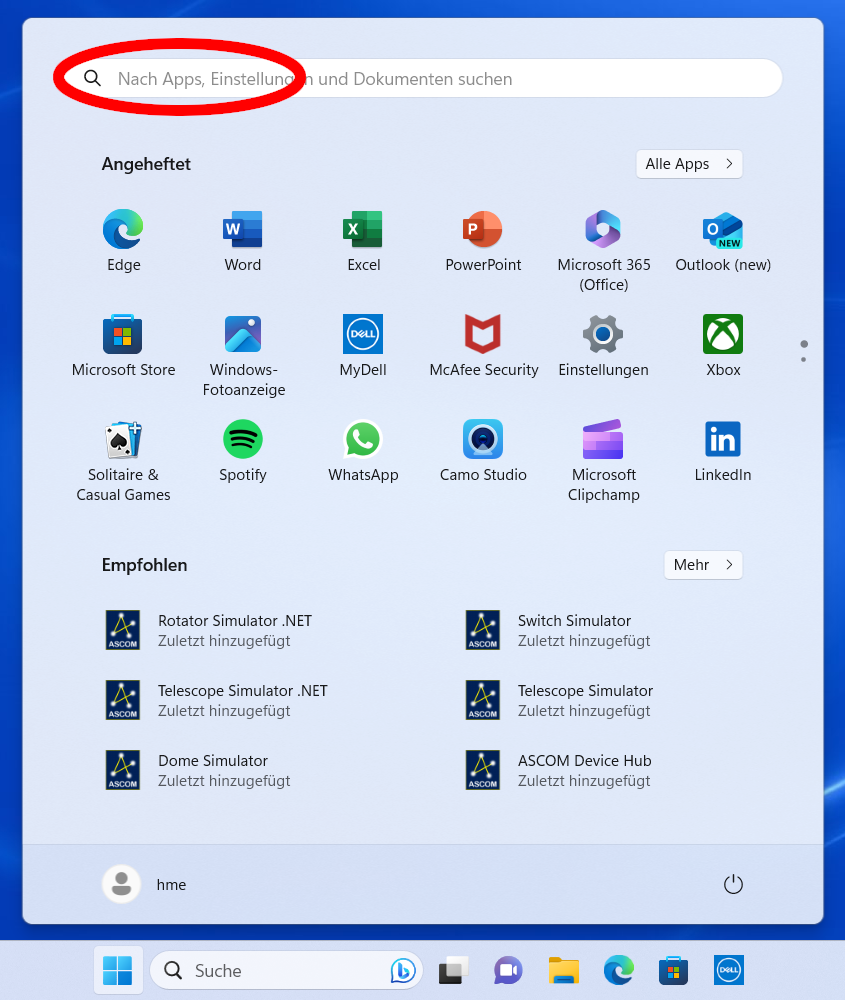
- From the Start search for and start the Control Panel. (screenshot)
- In the search field search for "partition". Click on "Create and format hard disc partitions". (screenshot)
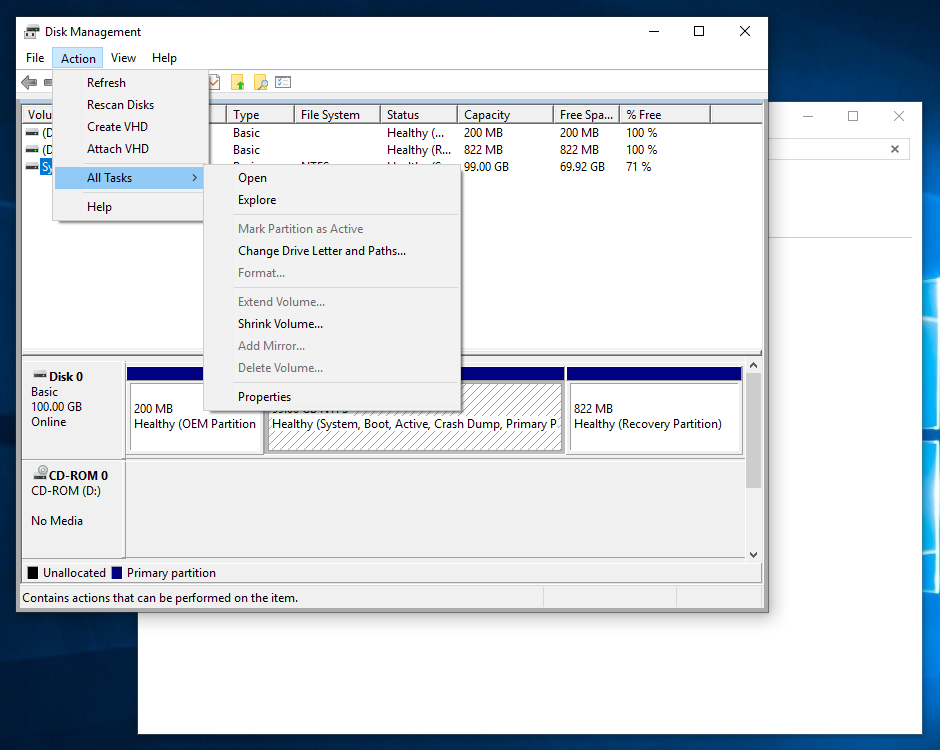
- A new window appears, which shows the organisation of the disc drives. Top is a list of partitions, bottom a graphical representation of the discs. Select the partition that has the C:\ drive. (screenshot)
- In the menu of the window, select "Action – All Tasks – Shrink Volume" (screenshot)
- A dialogue appears with a proposed shrinkage of the drive. Do not accept this radical shrinkage: You still need space for future data in your Windows system. To install Linux we need about 20 GB. (screenshot)
- It will take a little while to move the content of the partition to the front and to then show the tail end as unpartitioned space. When this is done you will see the change in the graphical representation of the disc. (screenshot)
